All the Webs: Helloworld from WebAssembly and webpack
13 July 2021 - (revised version of a post originally published 27 April 2020)
A helloworld tutorial where we setup a webpack 5 project which compiles hand-coded WebAssembly. A purely front-end project, using purely front-end tooling.
Although WebAssembly is designed to run in the browser you’d be forgiven for thinking it’s not designed for front-end web developers. And it probably isn’t. It’s main use case is running compiled C/C++/Rust/etc code in the browser. So if you’re a front-end developer looking to dip your toe into the waters of WebAssembly, you may have concluded that you’ll need to use a different language and learn different tooling.
But ultimately WebAssembly is a front-end technology? So wouldn’t it be great if front-end developers could sprinkle their project with a little hand-coded WebAssembly using familiar tooling like webpack 5?
Ideally we’d enjoy a typical front-end dev workflow:
- When you save your WebAssembly source file you’ll see your changes reflected in the browser instantly
- All WebAssembly build dependencies should be installed as npm packages via
npm install- no need to start installing additional toolchains
And ideally the production code should adhere to front-end best practices:
- WebAssembly is code, right? So surely it should be included inside the bundle?
- We should have minimal assets, no bloated JavaScript glue code
Too much to ask? Turns out it is possible, let’s take a look at a helloworld example.
WebAssembly Helloworld, the webpack way
Before we begin it’s worth saying that writing hand-coded WebAssembly is not for everyone and definitely not for every project. However if you’re looking to explore some WebAssembly in the safety of a front-end project then you’re in the right place!
Step 1 - An ordinary webpack setup
We’ll start with a fairly ordinary but quite streamlined webpack 5 project (full source on GitHub).
We have an initial index.js file which just adds an empty <main> tag to the document body:
import './style.css';
async function main() {  document.body.innerHTML += `    <main>    </main>  `;}
main()  .catch(error => {    window.alert('Oops something went wrong - check the console');    throw error;  });
Step 2 - Saying hello using WebAssembly
(full diff of this step on GitHub)
The first problem is that the current version of WebAssembly doesn’t really do strings. But it handles numbers beautifully! So we’ll have to somehow say ‘hello’ using just a number…? 🤔

No problem! Anyone who’s ever been bored in a maths lesson will know all you need to do is type in 0.7734 into your calculator and turn it upside down! We should be able to achieve the same effect with a css 180° rotation and a well chosen font.
The WebAssembly
First we need some WebAssembly to return the number 0.7734:
(module (func (export "getHello") (result f64) (f64.const 0.7734) ))MDN has an excellent article on Understanding WebAssembly text format which explains more about the syntax.
So how do we call this function from our app?
First we need to add a couple of webpack loaders to our project:
npm install --save-dev arraybuffer-loadernpm install --save-dev wast-loaderAnd a new rule in our webpack.config.js:
rules: [ ... { test: /\.wat$/, use: [ "arraybuffer-loader", "wast-loader", ], }, ],So… everytime we include a .wat file from our js, webpack will pipe it through two loaders, the first is wast-loader which compiles the WebAssembly text format file (.wat) into a WebAssembly binary format file (.wasm), the second is arraybuffer-loader which takes the compiled binary file and makes it available inside the bundle as a JavaScript ArrayBuffer. We can then use that ArrayBuffer to instatiate our WebAssembly code as we’ll see in the next section.
The JavaScript
Let’s make some additions to our existing index.js file.
import worldGreeterModuleBytes from "./world-greeter.wat";import './style.css';
async function main() { document.body.innerHTML += ` <main> <label id='hello'></label> </main> `;
const worldGreeter = ( await WebAssembly.instantiate( worldGreeterModuleBytes, ) ).instance;
document.getElementById('hello').textContent = worldGreeter.exports.getHello();}- Line 1: We import the ArrayBuffer containing the compiled WebAssembly bytecode
- Lines 11-15: We then bring that bytecode to life by calling WebAssembly.instantiate
- Lines 17-18: Once we have a module instance we call the
getHellofunction in the instance’s exports.
Finally let’s add some css and check in the browser:
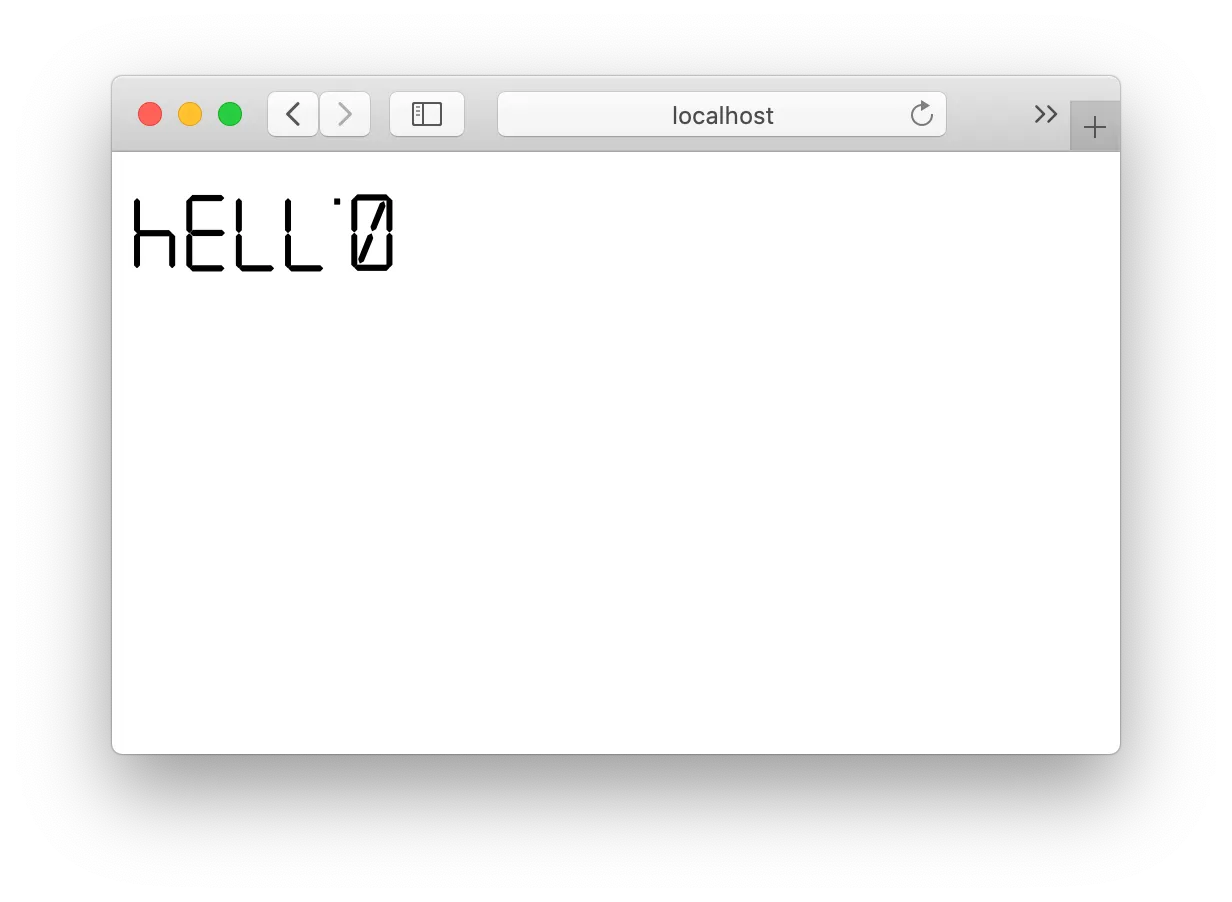
Perfect!
But wait… it looks like something’s missing from our helloworld… 🤔
Step 3 - Saying world using WebAssembly
(full diff of this step on GitHub)
Hm - so the word ‘world’ is missing. And the upside-down calculator hack isn’t going to cut and it for the word ‘world’. We’ll have to bite the bullet and do it properly…
So although WebAssembly prefers numbers, it can do strings, provided you don’t mind dealing directly with the raw underlying string bytes yourself.
Because WebAssembly functions can only return numbers, we can’t retrieve the string by calling a WebAssembly function. But we can create a function in WebAssembly which tells us (via a JavaScript callback) where to find the string in a block of shared memory.
So roughly:
- We’ll implement an
outputWorldfunction in our WebAssembly module - When called,
outputWorldwill add the string ‘World!’ to the shared memory and then call a JavaScript callback,worldCallback, telling the callback where to find that string in the shared memory. - Inside
worldCallbackwe’ll extract the string from the shared memory and output it to the page.
The WebAssembly
Let’s start with the additions to the WebAssembly code:
(module (memory (import "imports" "sharedMemory") 1)
(func $worldCallback (import "imports" "worldCallback") (param i32) (param i32) )
(func (export "getHello") (result f64) (f64.const 0.7734) )
(data (i32.const 0) "World!")
(func (export "outputWorld") (i32.const 0) (i32.const 6) (call $worldCallback) ))- Line 2 - The module expects a shared memory instance called
sharedMemoryas an import - we’ll set this up from the JavaScript side when we instantiate the WebAssembly module - Lines 4-6 - The module also expects to import a callback called
worldCallback. The WebAssembly will be calling this function with two i32 parameters (32-bit integers) which together describe where to find the string: the first parameter is where the string starts in memory and the second is how long the string is. - Line 12 - The
(data ...)section adds the bytes representing the string ‘World!’ to the shared memory. It places those bytes at position 0, the beginning. Note that the data is added when the module is instantiated and not when we call theoutputWorldfunction - so we did cut a corner here. - Lines 14-18 - The
outputWorldfunction. It calls theworldCallbackfunction telling it where to find the string. It passes0for the offset (where the string starts in memory) and6for the length.
The JavaScript
Next we’ll add support for all this in the JavaScript:
async function main() { document.body.innerHTML += ` <main> <label id='hello'></label> <label id='world'></label> </main> `;
const sharedMemory = new WebAssembly.Memory({ initial: 1 });
const worldCallback = (offset, length) => { const rawBytes = sharedMemory.buffer.slice(offset, length); const jsString = new TextDecoder().decode(rawBytes); document.getElementById('world').textContent = jsString; }
const worldGreeter = ( await WebAssembly.instantiate( worldGreeterModuleBytes, { imports: { sharedMemory, worldCallback } }, ) ).instance;
document.getElementById('hello').textContent = worldGreeter.exports.getHello();
worldGreeter.exports.outputWorld();}- Line 9 -
sharedMemoryis the shared WebAssembly.Memory instance that we’ll pass to our WebAssembly module when we instantiate it. Both JavaScript and our WebAssembly module can access the bytes inside this memory. - Lines 11-15 - The
worldCallbackfunction which the WebAssembly will call. The callback uses the two parametersoffsetandlengthto extract the raw bytes from the shared memory, turn the raw bytes into a JavaScript string (using TextDecoder) and then output that string to the page. - Line 20 - we pass these two new imports to the WebAssembly module when it’s instantiated.
- Line 27 - we call the WebAssembly
outputWorldfunction which in turn calls the callback which in turn outputs the ‘World!’ string.
Due to current WebAssembly restrictions we have to pass the callback when we create the module. Otherwise we would’ve passed the callback as a parameter to outputWorld() and our logic would’ve been a little easier to follow.
Great! Let’s add some css and see what we get…
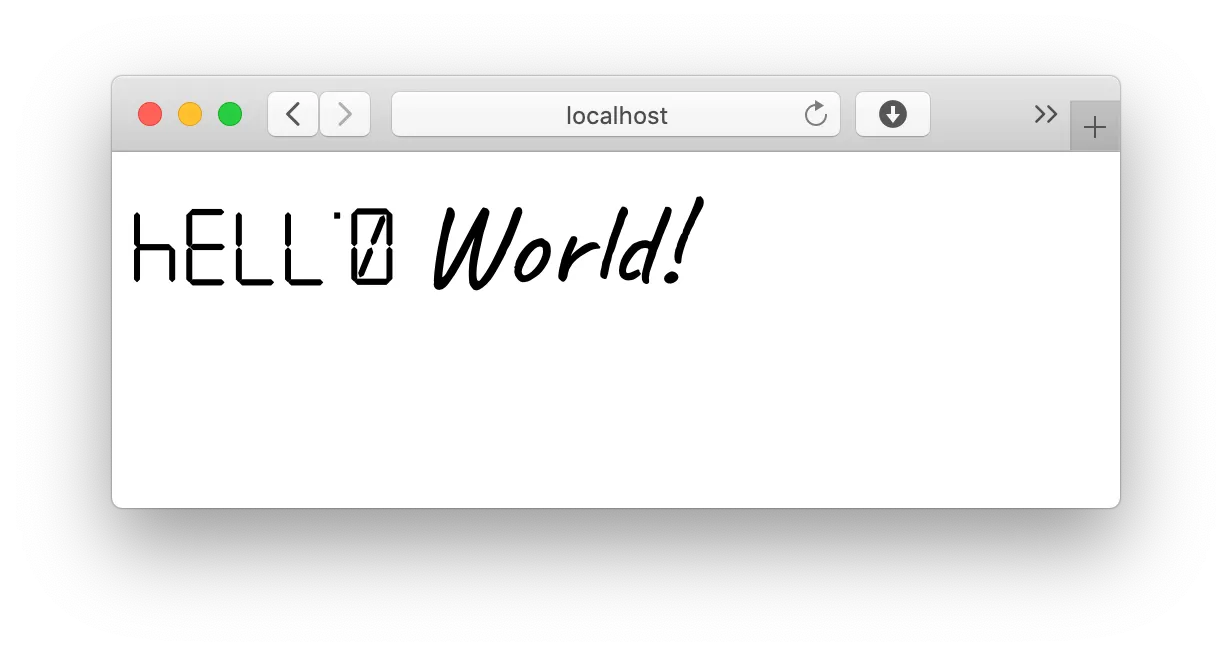
Perfect! This time we are done!
Summary
OK, so this was a bit contrived but we demonstrated that you can use hand coded WebAssembly in a way which blends in well with a typical front-end project:
- all build dependencies installed via
npm install - when you make a change to your WebAssembly source, that change is instantly reflected in the browser
- all code is in the bundle, no additional assets for the browser to download
- the bundle stays nice and small, no bloat
Hopefully you’re now in a good position to evaluate hand-coded WebAssembly and decide if it suits your project. Please also take a look at AssemblyScript and webpack’s native support for loading compiled WebAssembly files (but note it’s experimental and requires having the WebAssembly file as a separate asset outside the bundle)
Happy WebAssembling!
- Online demo: jonelantha.github.io/webassembly-webpack-helloworld
- Source: github.com/jonelantha/webassembly-webpack-helloworld